|
<< Click to Display Table of Contents >> Summary Report |
  
|
|
<< Click to Display Table of Contents >> Summary Report |
|
This summary report differs from a summary you might include as part of the inspection report itself using linked text tags. On the other hand, this Summary Report, which also compiles a list of items you have marked using Linked Text Qualifiers, creates any of the following files:
•RTF file (Rich Text Format file) that can be edited using Word for example.
•PDF file that can contain videos but cannot typically be edited.
•HTML file which supports active checkboxes but cannot include videos
•Repair Request List file that realtors can edit using Whisper's Repair Request Editor and create a PDF report for their client.
Any of the file types can then be emailed to the Realtor or uploaded to ISN or iGO Keystone as an attachment that the realtor can edit and present to the client as an addendum to the actual inspection report.
The RTF file version of the summary report can be loaded into a word processor such as Microsoft Word or LibreOffice for editing. While Microsoft Word is the recommended editor, it should be noted that some less featured RTF editors, like the default RTF editor on Apple platforms like MacBooks, do not support embedded images at the time of this writing. So if you plan on linking images into the summary, or including images in the cover page layout, please be aware that the realtor might not have a compatible RTF editor. Any linked videos will be ignored when creating the RTF version of the summary report.
The PDF file version of the summary report is more universally accepted on almost all platforms, but cannot typically be edited unless they have a PDF editor like Acrobat Adobe or equivalent. The PDF version also supports embedded videos whereas the RTF version does not.
The HTML file version of the summary report is also more universally accepted on almost all platforms, but edits (including the toggling of active checkboxes) may or may not be able to be saved depending on the HTML viewer/editor used to open the HTML file. As of this writing, we have found that Firefox can save changes, but Chrome and Microsoft Edge cannot.
The Repair Request version is a special file format (wrrl) that can be loaded into the Whisper Repair Request Editor by the realtor (for this file type, only the Item Layout is used). Only images will be included, no videos. Within the editor, each item can be quickly removed or marked for repair, replacement, funded (monetary compensation) or credited. A PDF file can then be created for the client. The Repair Request Editor is optionally installed for Windows when installing WhisperReporter Ascent, but is also available as a separate setup program found in the Distribution folder.
For example:
C:\Program Files\Whisper Computer Solutions, Inc\WhisperReporterV2\Distribution\Setup_RepairRequestEditor_x.x.x.exe
There is a version for the Mac and will be available once approved by Apple for inclusion in the Mac App Store.
Note: For the RTF, PDF and HTML summary reports only, if you have linked images or videos but do not want to include them for reasons noted above, you can create a custom Item Layout from the default layout and remove the <$Images> tag (which also references linked videos). Then just select that particular item layout when you want to avoid including any linked images/videos in the generated Summary Report for specific realtors as needed (same idea would apply for a Cover Page Layout to avoid having images on the cover page).
To create a Summary Report, use the one of the following methods to open the following dialog:
•The menu sequence File > Generate Summary Report
•Click the Generate Summary Report button ![]() in the main toolbar
in the main toolbar
•Enter the key chord [Shift] + [Ctrl] + P
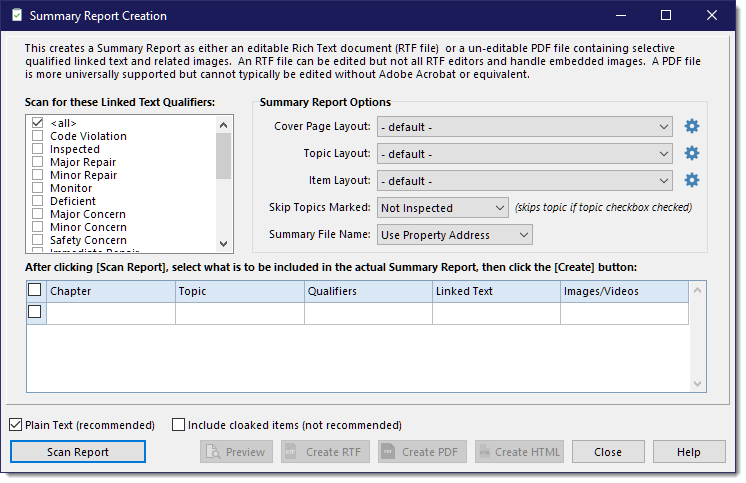
Summary Report Options:
•What to scan for
You have two options to select from:
- Linked Text Qualifiers. Use this to include items you marked as linked text with qualifiers, such as Major Deficiency, etc. When using this option, the qualifiers resolved from the <$Qualifiers> tag in the Item Layout can have a color when added to the summary report if the specific qualifier has a color suffix added to it in the Linked Text Qualifiers picklist (example: Major Deficiency // red)..
- Checked Topic Checkboxes. Use this if you want the entire Topic to be included where specific topic checkboxes are checked, such as Deficient, etc.
•Cover Page Layout
Select the cover page layout you would like for the report. Except for the Repair Request file type, you can add a company logo, set page margins and add headers/footers that apply to the whole summary report (be aware of concerns about image support mentioned above if adding logos).
•Topic Layout
Select the layout that will be used for each new Topic that contains one or more linked text items. (not used by the Repair Request file type)
•Item Layout
Select the layout that will be used for each linked text item. In the item layout the tag <$Qualifiers> can be used to describe the Assessment, i.e. the qualifier used to mark the linked text. If the linked text qualifier specified a color in the comment area of the linked text item, it will use that color for the assessment qualifier. For example, if in the Linked Text Qualifiers picklist, you have an entry: Major Deficiency // red, then the resolved <$Qualifiers> tag will be red if that is the only qualifier specified for that linked text. Valid colors are: red, green, blue, yellow, gray, aqua, cyan, fuchsia, maroon, navy, olive, purple, silver, teal. See Advanced Picklist Customization for more info.
•Skip Topics Marked
If you incorporate topic checkboxes in your reports, you can have it skip certain topics if the selected topic checkbox is marked. For example, you might have linked text set up in a template but for which its "Not Inspected" topic checkbox was marked and want to avoid including the linked text in those topics for the summary.
•Skip Unmodified Topics
Sometimes a template has certain topic checkboxes pre-checked and/or some text in the topic comment pre-marked for inclusion in the summary, but you don't want it included if you didn't modify the topic. Use this option to skip all unmodified topics so they don't appear in the Summary Report.
•Summary File Name
This determines how the default file name of the Summary Report is formatted.
- Use Date/Time: "Summary - YYYYMMDD_HHMM.rtf" where YYYMMDD is the date and HHMM is the time of day
- Use Report Number: "Summary - <report number>.rtf"
- Use Property Address: "Summary - <property street address>.rtf
•Plain text
Normally you would select this option because it is better supported by all the summary report file types. However, you may have the need to be able to show certain text attributes like color, bold, etc that is part of the linked text item. By deselecting this option the resulting summary report file will likely have those attributes present, but not guaranteed (plus other undesirable artifacts may appear).
•Include cloaked items
Normally you would leave this option unchecked when creating a Summary Report. It was added to allow the Summary Report to be used for other purposes like a checklist report. In a checklist report, you might have linked text with a qualifier such as "Checklist" so that you could then print a report of just those checklist items for use as a reminder sheet during an inspection. In such cases, these checklist items might be cloaked, but you still want them to be in the checklist report.
•Order By
The list of results can be ordered by System (Structural, Electrical, etc) or by Qualifier (if scanning by qualifiers) or Topic Checkbox (if scanning by Checked Topic Checkboxes).
All layouts can use the default layout as a starting point when customizing a new layout (it will prompt you when creating a new layout). Click the gear icon to the right of each layout to create or modify the respective layouts. You can use the Data Manager to backup and/or restore these custom layouts to share with others.
Before you can create the report, you will need to scan the report for the linked to be used in the report. But first, select the linked text qualifiers to use for the Summary Report (the list will show all the qualifiers you have configured, not the ones you actually used). If ordering by System, then selecting the <all> entry in the list will include all qualifiers, no need to select specific qualifiers. However, if ordering by Qualifier, selecting the <all> entry in the list will only include linked text items that were marked as <all>; therefore, you must still select the specific qualifiers you want to include in the Summary Report..
Once you have the qualifiers selected and whether to skip topics that have a certain Topic Checkbox marked, click the [Scan Report] button. This will populate the grid with all the items found, and the Images column will display the file names of any images that are also linked.
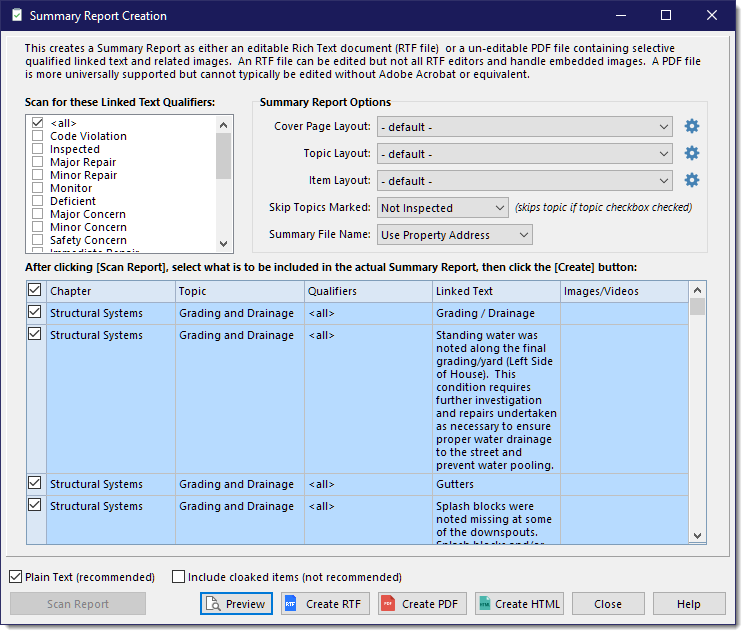
You can trim the list down further by selecting/unselecting specific rows.
Selection methods:
•Check or uncheck all items using the checkbox to the far left in the header row.
•Clicking on a row instead of a checkbox will clear all previously checked rows and only select the row clicked on unless you are clicking in conjunction with the Shift or Ctrl key (see next selection methods).
•Select individual items using the checkbox to the far left in each row, or hold the Ctrl key down while clicking individual rows.
•To select a range of items, click on the first row of the range or item to include, then hold the Shift key down and select the last row of the range of items to include.
When ready, you can optionally click the [Preview] button to review the report prior to creating the file. When you are satisfied, select the file type to create: PDF, RTF, HTML or Repair Request followed by clicking the [Create File...] button.
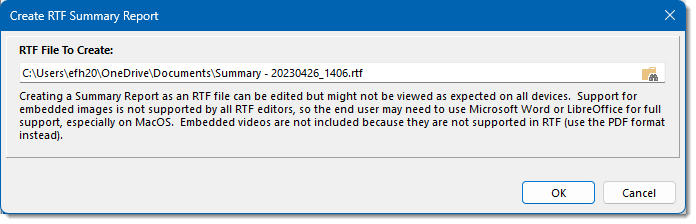
For the RTF version you will get this prompt:
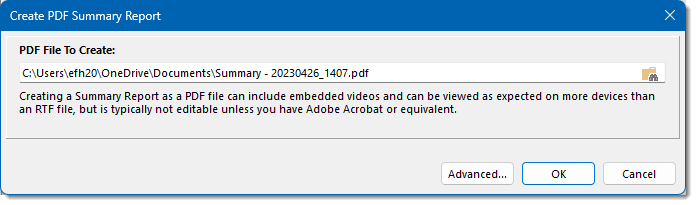
For the PDF version you will get this prompt:
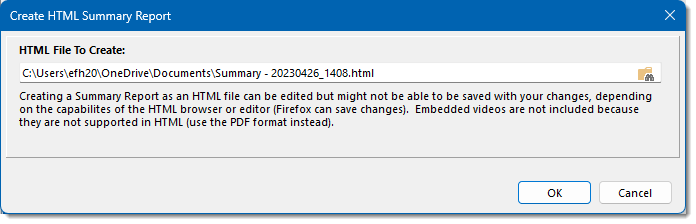
For the HTML version you will get this prompt:
For the Repair Request version you will get this prompt:

In each case, specify the file you want to create. The name defaults to the previous saved folder and with the file name using either the date or report number based on what was selected in the Summary Report Options described earlier. You can enter a different name or click the icon to the far right of the file name edit area to browse to a new location.
When the report is created, you are presented with a dialog similar to the following dialog, depending on if it is an RTF, PDF, HTML or Repair Request file:
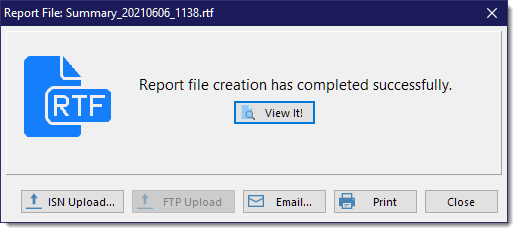
If the inspection report was created from an ISN order or iGO Keystone order, you will have the option to upload the Summary Report to that service as an attachment. The other options include FTP upload (if configured), sending using your email client, or printing a hard copy.
See also: