|
<< Click to Display Table of Contents >> Beginning a new Report |
  
|
|
<< Click to Display Table of Contents >> Beginning a new Report |
|
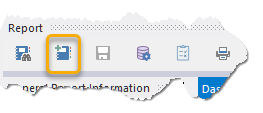
To start a new report, either use the menu sequence: File > New Report or click on the New Report icon button in the main toolbar:
When you start a new report, you need give the program some general information before you can began writing the report.
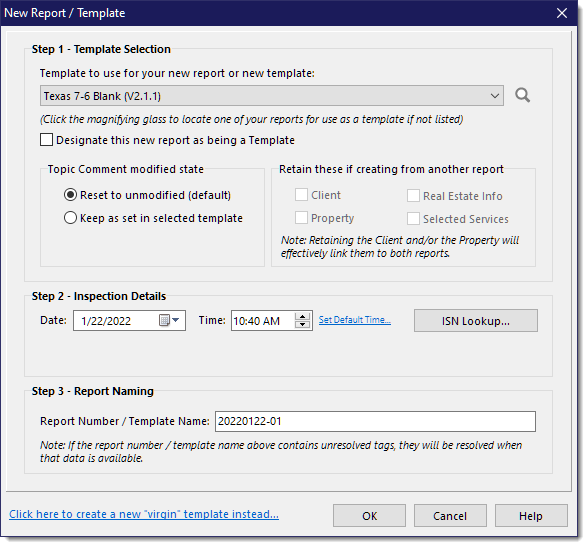
Step 1: Template Selection – From the drop-down which lists your templates in a most recently used order, select the template you would like to use as the layout for your new report. Clicking the lookup button, the spyglass icon to the right of the template selection dropdown, will open the browse window and allow you to select any previously created report as a template, which can be useful to create a followup report based on a previous report.
Part of step one gives you the opportunity to designate this new report as a template if you plan on modifying the selected template to create a new version of it going forward and do not want to modify the current template. If you forget to select this option for your new template it will be created as a Report, however you can declare it as a template later using the Browse Reports dialog.
Step 2: Inspection Details – Fill out the date and time of the inspection. If you are creating a new report from another report, the Client and Property entries will be filled with those values if you chose to retain them from the previous report. They will also be filled if you select a report from either an ISN Order using the [ISN Lookup...] button, or an iGO Keystone Order using the {Keystone Lookup...] button. One of those buttons will be present if either ISN or iGO Keystone has been setup within WhisperReporter Ascent (refer to the topic on ISN Configuration or iGO Keystone Configuration).
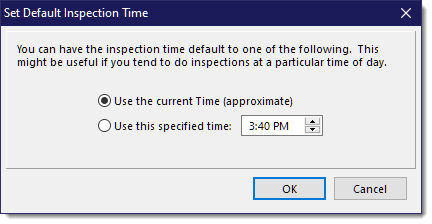
If you tend to do an inspection at a certain time of day more than other times, you can specify when that is by clicking the "Set Default Time..." link button. then each time you create a new report, it will default the time to what you set here:
Step 3: Report Naming – Here you assign your report number. The system will automatically assign a number for you based on the pattern you defined in Preferences for Report Number. You can modify that as needed, such as naming your template if creating a new template..
Click [OK].
See also: