|
<< Click to Display Table of Contents >> Setup Inspector Information and Registration |
  
|
|
<< Click to Display Table of Contents >> Setup Inspector Information and Registration |
|
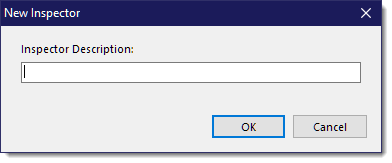
Go to Setup > Inspector > Inspector Manager. Click [New...], type in your name or other description that best describes you and click [OK].
Fill in as many fields as you can on the Inspector Manager window. You can input up to 10 separate License/Certifications for use in templates since you might have different ones for different inspections you might do, like Property, WDI, Mold, Pool, etc. Each of these can be referenced using their respective tags by number (1-10) or by the given description.
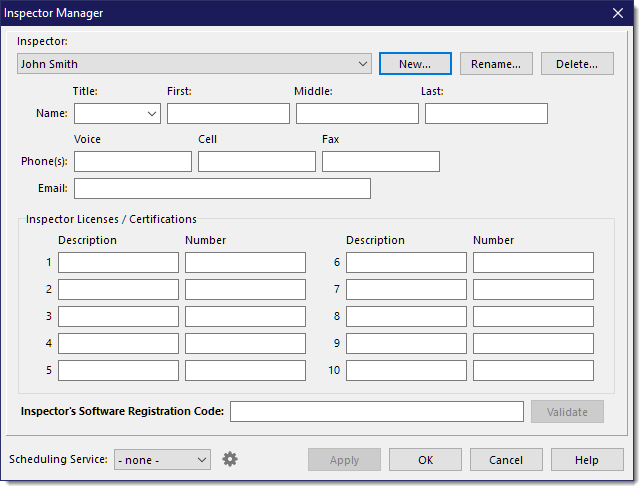
Entering and validating your registration code will authorize the full functionality of WhisperReporter Ascent.
IMPORTANT: Validating your Registration Code will auto-fill the name fields
If you subscribe to a supported scheduling service for use with WhisperReporter Ascent, you will need to provide the specific information for accessing that service. Since each inspector may have their own configuration details, you enter those details for each individual inspector. For the selected inspector, select their Scheduling Service using the drop down at the bottom left of the form, then click the gear button to the right to enter their specific details (refer to the specific service configuration topic for further information, ISN Configuration or iGO Keystone Configuration).
See also: