|
<< Click to Display Table of Contents >> Image Placeholders |
  
|
|
<< Click to Display Table of Contents >> Image Placeholders |
|
Image Placeholders are typically used when creating a template in order to set places where certain images should appear and what size the should be. Some examples might be to define where to place the photo of the front of the house when doing a home inspection. You also might always take pictures of the water heater, compressor, furnace, etc. So rather than having to go into each topic and dropping the image into their respective location for every inspection, you can just add these image placeholders when you create your template.
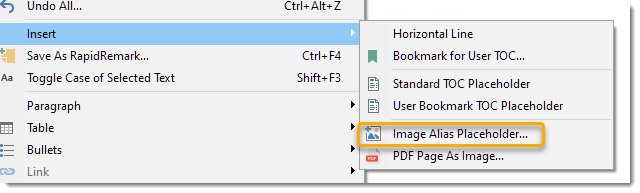
Each image placeholder is given a name of your choice. You might want to call the cover page image "House - Front", "water heater" for the water heater image placeholder, etc. To insert an image placeholder into your template, you place your caret at the location where you want to add the image placeholder (just like adding any other image). Then, right click and select Insert > Image Alias Placeholder from the pop-up menu:
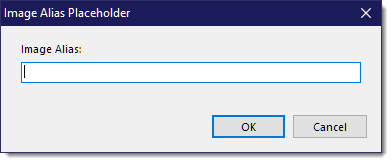
This will invoke the dialog where you enter the name:
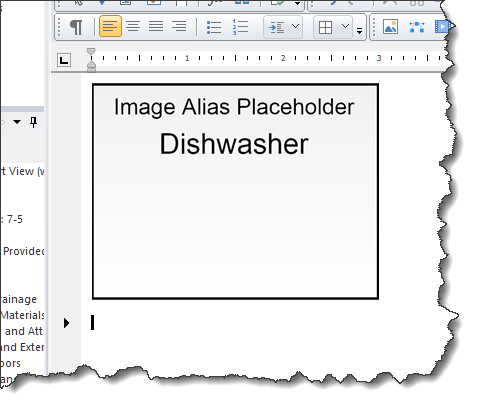
If you gave it a name of "Dishwasher" you would end up with this image in your topic comment:
This is treated just like any other image. You can resize it and align it as you would like to see it in your template. The width is the most significant dimension since the image that will be used will maintain the aspect ratio based on the width. In other words, if you assign an image that is taller or shorter than the image placeholder, the width will be the same as the placeholder but the height will be adjusted in order to maintain the correct aspect ratio.
When you are doing your inspection, you only have to assign the image to the respective image placeholder. You can do this in a number of ways:
•Right clicking an image in the Unused image panel and select Assign to Image Alias Placeholder then select the image placeholder by name from the submenu.
•Dragging the image from an image panel and dropping it onto an image placeholder in an image panel, or dragging the image placeholder from the image panel and dropping it onto an image in an image panel:
•Toggling the quick placeholder assignment option to ON at the top of the Unused image panel (clicking it will toggle it on/off):
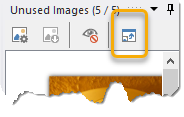
Then double click an image on the Unused image panel which will invoke the following dialog from which to select the image placeholder you want to assign the image to:

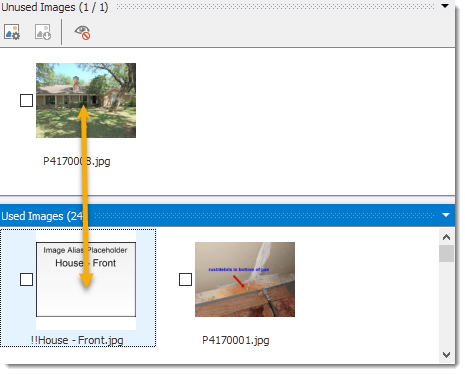
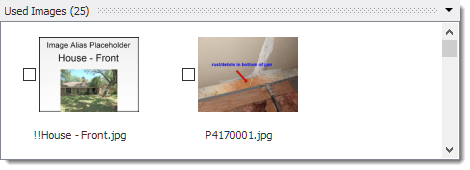
When the image has been assigned to the image placeholder, it will show a thumbnail of the image so that you will know it has been assigned and what image was assigned to it. If you make a mistake, just repeat the process with a different image or right click the image placeholder and select "Reset Image Alias".
At this time, if you were to go into the cover page topic where we added this image placeholder into the template originally, it will now have the image you assigned to it.