|
<< Click to Display Table of Contents >> Editing Images |
  
|
|
<< Click to Display Table of Contents >> Editing Images |
|
WhisperReporter has built-in tools for quick and simple photo editing. Access the image editor one of several ways:
1.Double- click on the image you want to edit.
2.Right-click on the selected image you want to edit and select Edit Image
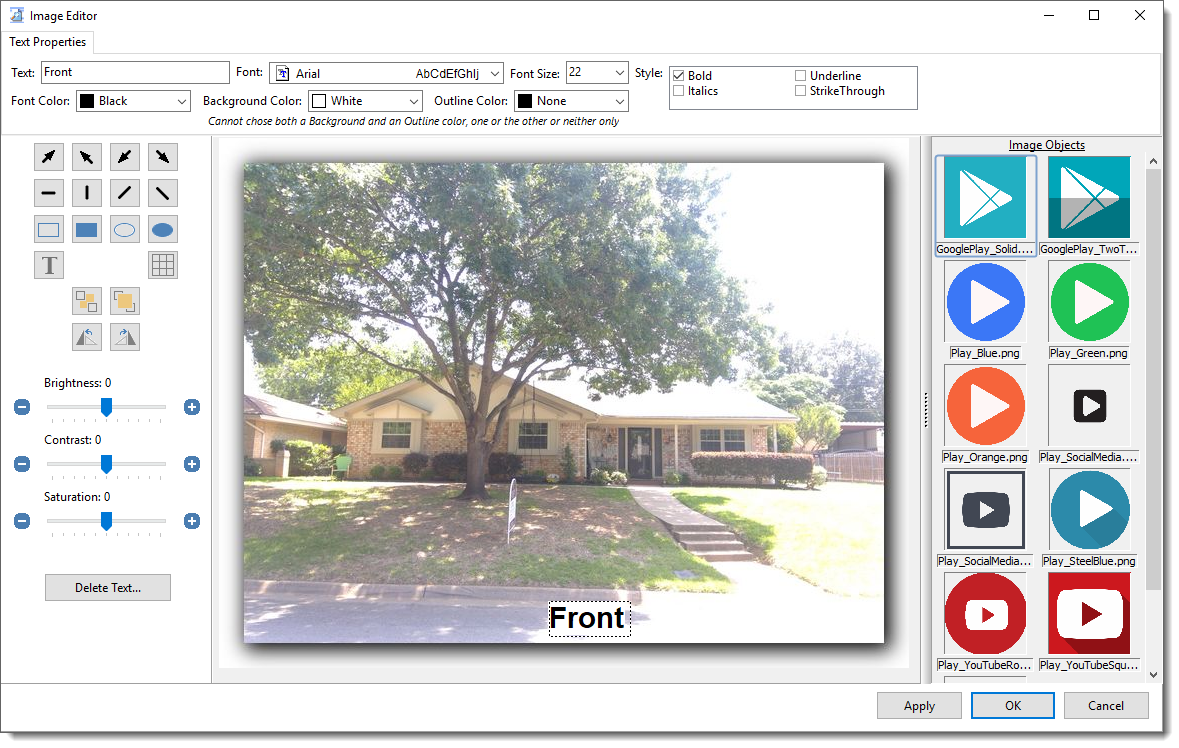
Shapes
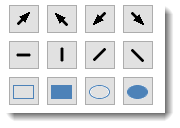
Simply click the button of the shape object you want to insert. You will have the opportunity to change the color and size of the object.
Text

Click the “T” button to insert text. You will be able to change the color, font and size, including whether to color the background or outline the text to make it easier to see against the image itself.
Grid

Click this to insert a grid object. You will be able to select the number of rows and columns as well as color and headings for rows and columns if desired.
Move to Back / Front

Move the selected object so it appears in the back of or in the front of all other objects in case of overlapping objects.
Rotate Image Left / Right

Rotate the image Left (counter-clockwise) or Right (clockwise);
Brightness, Contrast and Saturation

You can alter the image's brightness, contrast and saturation using these adjustment controls.
Delete Object
Delete the selected object. The label will change depending on what type of object is selected.
Image Objects
This panel provides a set of image objects that can be added to the image being edited. Various icons image objects such as numbers and symbols are provided including "Play" button image objects that can be added to a video frame image that you are adding into your report which is linked to a video file. You can remove any of these images and also add images of your own by simply adding them to the ImageObjects folder which is located as a subfolder of the installation. For example:
C:\Program Files (x86)\Whisper Computer Solutions, Inc\WhisperReporter\ImageObjects
Note: Re-installation of WhisperReporter will not re-add any provided sample images you may have deleted unless the ImageObjects folder itself has been deleted.
Image object files of type PNG can support transparency, however, not all will work properly in this version of the editor since they have to be converted to bitmaps which do not support alpha channels other than 0 (black) for transparency. So if a PNG image contains what appears to be a transparent area but is not alpha channel 0, the image object will not have transparent areas when added to the image being edited or may render the whole image object transparent.
You can drag the splitter bar at the left of the image object panel to expand it or even collapse the image object panel if not needed (double-clicking it will also collapse the panel). You can then drag it open as needed.
Note: When images are loaded into the WhisperReporter Image library, only a copy of the original image is moved into the library. So any modifications made with the image editor are made to the copy that is in the library, not your original image.