|
<< Click to Display Table of Contents >> Creating Custom Tags |
  
|
|
<< Click to Display Table of Contents >> Creating Custom Tags |
|
Custom tags are used to auto-fill information, like a business license number, that is not available to enter in any of the other tag sources. Custom tags are created on the “Other” tab in the General Report Information section. These instructions can also be found on the Other tab.
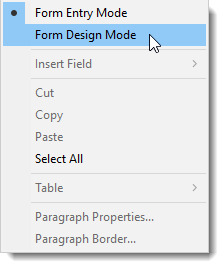
1. Right-click on any gray space on the form and select “Form Design Mode”. |
|
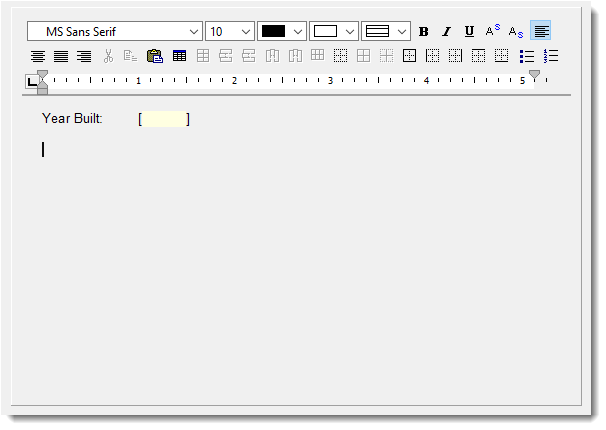
2. The form turns into a mini text editor. |
|
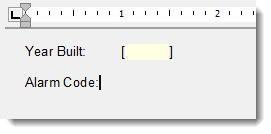
3. Find the next free line and give the tag a label. |
|
4. Hit Tab on your keyboard to align the next part. Right-click and select Insert Field > Text Entry Field. Give the text field a name. This name will be referenced when adding the custom tag to your template.
|
|
5. When done, right-click again on any of the gray space and select “Form Entry Mode”. You are ready to add your custom tag to the current template. Custom tags do not carry over to other templates. |
|