|
<< Click to Display Table of Contents >> Report Navigation |
  
|
|
<< Click to Display Table of Contents >> Report Navigation |
|
The report navigation lives on the left side of the program screen.
This pane can be made larger or smaller by moving the right edge to the left (smaller) or to the right (larger).
It can also be hidden completely by clicking on the right edge. |
|
WhisperReporter breaks the report up in to chapters, topics and subtopics.
•Chapter – Marked on the navigation by a folder icon. The page layout is defined by the Chapter, and all topics in the chapter will conform to its parent chapter layout.
•Topics – Topics are marked with page icons (blank white when unedited and little blue scribbles when edited). All of the report editing happens in topics. Each topic is separate from each other and can have headings defined in its layout to help separate one topic from another.
•Subtopics - Subtopics are much like topics, but do not have their own set of topic checkboxes. They are typically used in navigation to better break up a long narrative by splitting a topic into distinct sections without having to created multiple topics that are very similar.
To navigate between topics, simply click on the topic title. You can also click on toolbar buttons directly above the navigation tree to move around the report:
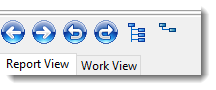
The button functionality in order shown above:
•Left Arrow: Move to Previous Topic
•Right Arrow: Move to Next Topic
•Undo Arrow: Go back to previously accessed topic
•Redo Arrow: Go forward to previously accessed topic
•Expand Tree: View all nodes
•Collapse Tree: Collapse all nodes (show only the top level chapters)
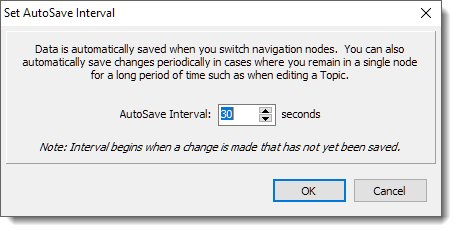
Please note that the program automatically saves changes when you click on a different topic. You can also configure to have WhisperReporter Auto Save at set interval once a change is noted. To toggle AutoSave on or off, select the AutoSave option under the File menu. If not enabled, the option will say "Enable AutoSave", and if already enabled, it will say "AutoSave Enabled". When enabling AutoSave, it will prompt you for the interval: